Understanding Plant 3D Piping Design
What is Plant 3D Piping Design?
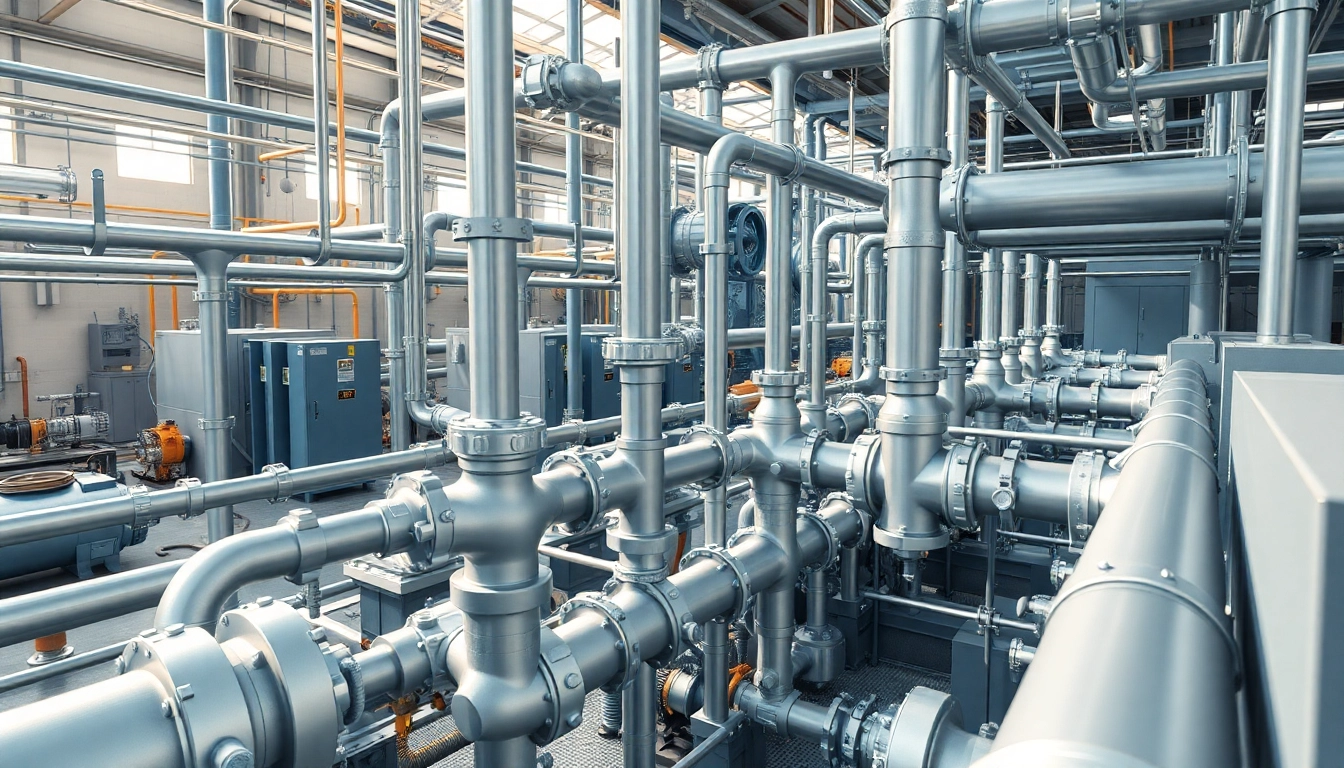
Plant 3D piping design refers to the process of creating and managing 3D models of piping systems used in industrial plants. This sophisticated system allows designers to draft, visualize, and simulate piping networks crucial for various manufacturing and chemical processes. Using advanced software tools, such as Autodesk’s Plant 3D, engineers can achieve enhanced accuracy and efficiency in their designs, ensuring optimal performance and safety of the systems they create. The incorporation of a Plant 3D piping design workflow significantly reduces the time spent on project execution and improves collaboration among stakeholders.
Key Features of Plant 3D
The features of Plant 3D make it a powerful tool for professionals. Key attributes include:
- 3D Modeling: Allows the creation of intricate models that enable engineers to visualize complex piping systems.
- Customizable Components: Users can define and modify piping components and properties suited to specific project requirements.
- Integrated P&ID Tools: Combines piping and instrumentation diagram functionalities for a streamlined workflow.
- Isometric Drawings Generation: Automatically generates isometric drawings from 3D models, facilitating accurate documentation.
- Collaboration Features: Allows multiple users to work simultaneously on projects, enhancing team productivity.
Benefits of Using Plant 3D
Adopting Plant 3D piping design presents numerous benefits, such as:
- Efficiency: Reduces time on design and modification through advanced automation features.
- Improved Accuracy: Minimizes human error in piping layouts, enhancing safety and compliance with standards.
- Enhanced Communication: Provides a centralized platform for stakeholders to access, review, and share project information.
- Cost Savings: Streamlined workflows lower the costs related to project delays and errors.
- Flexibility: The software can be adapted to a wide range of plant types and applications, making it versatile for various industries.
Getting Started with Plant 3D Piping Design
System Requirements for Plant 3D
Before installing Plant 3D, ensure your system meets the following requirements:
- Operating System: Windows 10 (64-bit) or later.
- Processor: At least Intel i3 or equivalent, recommended i5 or better.
- RAM: Minimum of 8 GB; 16 GB or higher is recommended for larger projects.
- Graphics: DirectX 11 compatible graphics card with at least 1 GB VRAM.
- Storage: A minimum of 10 GB of free space for installation, plus additional space for project files.
Installing Plant 3D Software
Installing the Plant 3D software involves a few straightforward steps:
- Download the installer from the official source.
- Run the installer and follow the prompts to complete the installation.
- Activate the software using your license key.
- Check for updates to ensure you have the latest features and fixes.
- Configure initial settings to match your design requirements.
Basic Interface Overview
The Plant 3D interface is designed for ease of use, featuring:
- Workspace: Central area where modeling and design take place.
- Toolboxes: Quick access to components, tools, and resources needed for design tasks.
- Navigation Tools: Options for zooming, panning, and rotating the 3D model for better visibility.
- Command Line: Input area for entering commands or settings directly, offering experienced users quicker workflow capabilities.
- Properties Panel: Displays detailed information about selected components, allowing easy modification.
Advanced Techniques for Pipeline Modeling
Customizing Pipe Properties
Customizing pipe properties is vital for aligning with project specifications. Here are helpful techniques:
- Pipe Schedules: Select the appropriate schedule that matches the design requirements and material specifications.
- Fittings Customization: Choose from standard fittings or create custom components to suit specific needs.
- Labeling: Add labels for better identification and management of piping elements.
- Material Properties: Modify properties to reflect the material’s characteristics, ensuring accurate simulations.
Utilizing Isometric Drawings
Isometric drawings are essential for understanding complex layouts. Here’s how to effectively use them:
- Automatic Generation: Use Plant 3D's features to automatically generate isometric drawings from your 3D models.
- Dimensioning: Ensure that all necessary dimensions are included for clarity and accuracy.
- Annotations: Include key notes and instructions for assembly, maintenance, or inspection within the drawings.
- Quality Control: Implement quality checks on isometric drawings against the 3D model to ensure consistency.
Effective Routing Practices
Proper routing of pipes is crucial for functionality. Consider these effective practices:
- Avoiding Interferences: Plan routes to minimize conflicts with existing structures and systems in the design.
- Optimizing Flow: Ensure that pipe runs maintain optimal flow characteristics by avoiding unnecessary bends or restrictions.
- Segmenting Large Runs: Break down large piping systems into manageable segments for easier handling and analysis.
- Documentation: Keep detailed documentation of design choices to aid in future modifications or troubleshooting.
Common Challenges in Plant 3D Piping Design
Addressing Design Errors
Design errors can lead to costly repercussions. Common strategies to mitigate these challenges include:
- Regular Reviews: Conduct frequent design reviews at key milestones to identify issues early.
- Collaboration: Foster an environment of open communication among team members to discuss potential problems.
- Version Control: Implement robust version control processes to track changes and revert to previous designs if necessary.
- Automated Checks: Utilize software features that automatically highlight clashes or errors in your designs.
Managing Workflow Efficiency
Managing workflow effectively can enhance productivity significantly. Here are some tactics:
- Standardizing Processes: Develop standard operating procedures for common tasks to streamline the workflow.
- Assigning Roles: Clearly define roles and responsibilities within the team to promote accountability.
- Time Management: Use project management tools to allocate hours and monitor the progress of tasks.
- Feedback Mechanism: Establish feedback loops to understand the pains within the workflow and address them promptly.
Collaboration Tips for Teams
Effective collaboration is essential for project success. Implement these tips:
- Utilize Cloud Solutions: Implement cloud-based storage and software to allow real-time collaboration.
- Regular Sync Meetings: Schedule check-ins to keep all team members informed of progress and changes.
- Shared Documentation: Maintain an accessible repository for all project documentation to facilitate transparency.
- Conflict Resolution: Encourage a culture of problem resolution where issues are addressed constructively.
Measuring Success in Plant 3D Projects
Performance Metrics to Consider
Measuring the success of your Plant 3D projects involves various metrics:
- On-Time Delivery: Track whether projects meet their deadlines.
- Budget Adherence: Measure the degree to which projects align with budgetary expectations.
- Change Management Efficiency: Evaluate how effectively the team handles design changes during the project lifecycle.
- Client Satisfaction: Gather feedback from clients regarding the design outcomes and service received.
Gathering User Feedback
User feedback is vital for future improvements. Consider implementing the following strategies:
- Surveys and Questionnaires: Regularly collect user feedback to understand their experiences and satisfaction levels.
- Focus Groups: Conduct focused discussions with users to gather deeper insights into tool usability and effectiveness.
- Iterative Development: Apply the feedback to make continuous improvements to the design processes.
- User Training Sessions: Offer training to ensure that users can make the most of the Plant 3D features, fostering a culture of innovation.
Continuous Improvement Strategies
Continuous improvement is key to maintaining efficiency in Plant 3D projects. Consider the following strategies:
- Benchmarking: Regularly compare your processes and outcomes against industry standards.
- Investing in Training: Provide ongoing training for staff to enhance their skills and familiarity with the software.
- Technology Upgrades: Stay updated with the latest software versions and technologies that can enhance design capabilities.
- Feedback Integration: Ensure that user feedback is consistently incorporated into process improvements.
Frequently Asked Questions
What is Plant 3D piping design used for?
Plant 3D piping design is used to create, visualize, and simulate piping systems for industrial applications, ensuring accuracy and efficiency in engineering projects.
How can I improve my Plant 3D skills?
Improving your Plant 3D skills can be achieved through practicing with the software, online tutorials, attending workshops, and seeking feedback on your designs.
Can I use Plant 3D for small projects?
Yes, Plant 3D is versatile and suitable for projects of any size, from small custom designs to large-scale industrial plants.
What file formats does Plant 3D support?
Plant 3D supports various file formats, including DWG for drawings, PDF for documentation, and others needed for interoperability with different systems.
Is collaboration possible in Plant 3D?
Absolutely, Plant 3D includes features that support collaboration among team members, allowing multiple users to work simultaneously on a project.